Showing posts with label interiors. Show all posts

Monday, August 4, 2014

Mantel Decor

The DIY Picasso art and the DIY gold corner picture frames made their home above our mantel late last week!


I purchased the federal mirror last year from the same place I got our rug a few months ago.  The mirror might be my favorite piece in the whole house.  Clearly, I have a thing for gold.  And aren't these little Staffordshire dogs adorable with their spots?!


I picked up the Staffordshire dogs from a local antique hotspot called Eastbrook Flea Market.  If you're in the area, you need to check it out.


This is our mantel for now, but I'm sure I'll switch things up with the items sitting on the mantel.  If I do, I'll let y'all know!

Friday, August 1, 2014

Master Bedroom Inspiration

So, remember how I updated our master bedroom bedding while R.B. was out of town? Well, the makeover bug has bitten, and I'm ready to completely redo the bedroom!

Here are a few inspiration photos...


Via


Via


Via

I love the bedside table in this pic...

Via


Via
"That's a bathroom," you say. Yes, yes it is. I just love that grasscloth wallpaper. It almost has a metallic sheen, and I'd love to have it in the bedroom. 

As you can see, I love the neutrals with a little blue/green pop. I want our room to be light and airy and comfortable. It also can't be too girly, per R.B.'s request. 

What do you think of these inspiration photos? Which is your fave? 


Wednesday, June 25, 2014

Emily's Guest Room :: Before

My friend Emily reached out to me when Maeci and I first started our blog saying that she had a really great blog post idea - for us to redo her guest room!  We totally jumped at the chance - getting to see an awesome friend + decorating = WIN WIN!

Emily's house is this adorable historic home in Birmingham in the Crestwood neighborhood that was built in the 1920s.  It has a cozy front porch, little scalloped wood detail in the kitchen, hardwood floors throughout, the original stove (it's amazing) and all the quintessential details of a home built during that time.  

So let's get down to the nitty gritty details of the before photos!


I hear that bad before pictures (photographers fault, not home owners fault) make for reallyyyy great after photos.  That's just what I've heard.  We're really excited to get started and have this room guest-ready.  We'll be posting updates on the room as we go, and I'm in the midst of putting together a mood board and sending a few items to Emily to choose from!

Monday, June 23, 2014

Link Love

1  ::  I could totally see this stool working in a multitude of rooms (indoor + outdoor!).
2  ::  This bathroom redo is spot on.


3  ::  This recipe looks so fresh delicious - perfect for summer.
4  ::  Absolutely love this lamp finial and it comes in lots of colors!
5  ::  Loving this cozy living room with its amazing gallery wall.


6  ::  DIY gel nails at home with no UV light required.  Sign us up!
7  ::  I'm going to find a way to use this pendant in our house.
8  ::  How gorgeous is this beauty?!


9  ::  Is it bad that I want to make one of these for myself?
10  ::  This stuff works wonders and I use it every day.

Happy Monday!

Tuesday, June 17, 2014

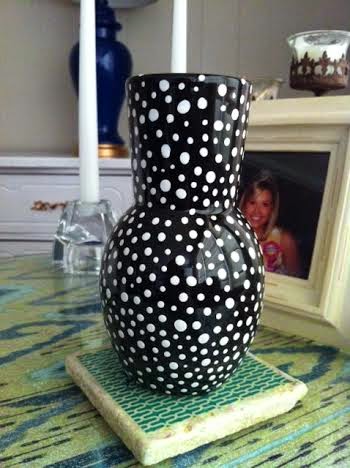
DIY Anthropologie Vase


A little while back, I saw this adorable dot planter at Anthropologie.  And my first thought was, "Oh, hello there lovely."  And my second thought was, "I kill plants."  Okay, just kidding.  But I really do.  My second thought was, "I could totally make this."


What's even better is that you only need three supplies for this project.  Hollaaaa.  So here's what you'll need:
Yup. That's it.  I used Rustoleum's oil-based gloss white paint.  And here are the steps you'll need to take:

1.  Clean your vase off with water, making sure it's completely dry after.
2.  Dip a toothpick into the paint lightly (you don't need much!).
3.  Start adding dots with the paint in whatever pattern you'd like, making sure not to put too much paint on at once otherwise it will drip (I worked from the bottom up, let it dry overnight, continued with the top, then let it dry overnight again).
4.  You're done!  Enjoy your new vase!


Let us know if you make one!  Have you made any other Anthro dupes?  We'd love to see your projects!

Thursday, June 12, 2014

Drab to Fab: Farmhouse Paint


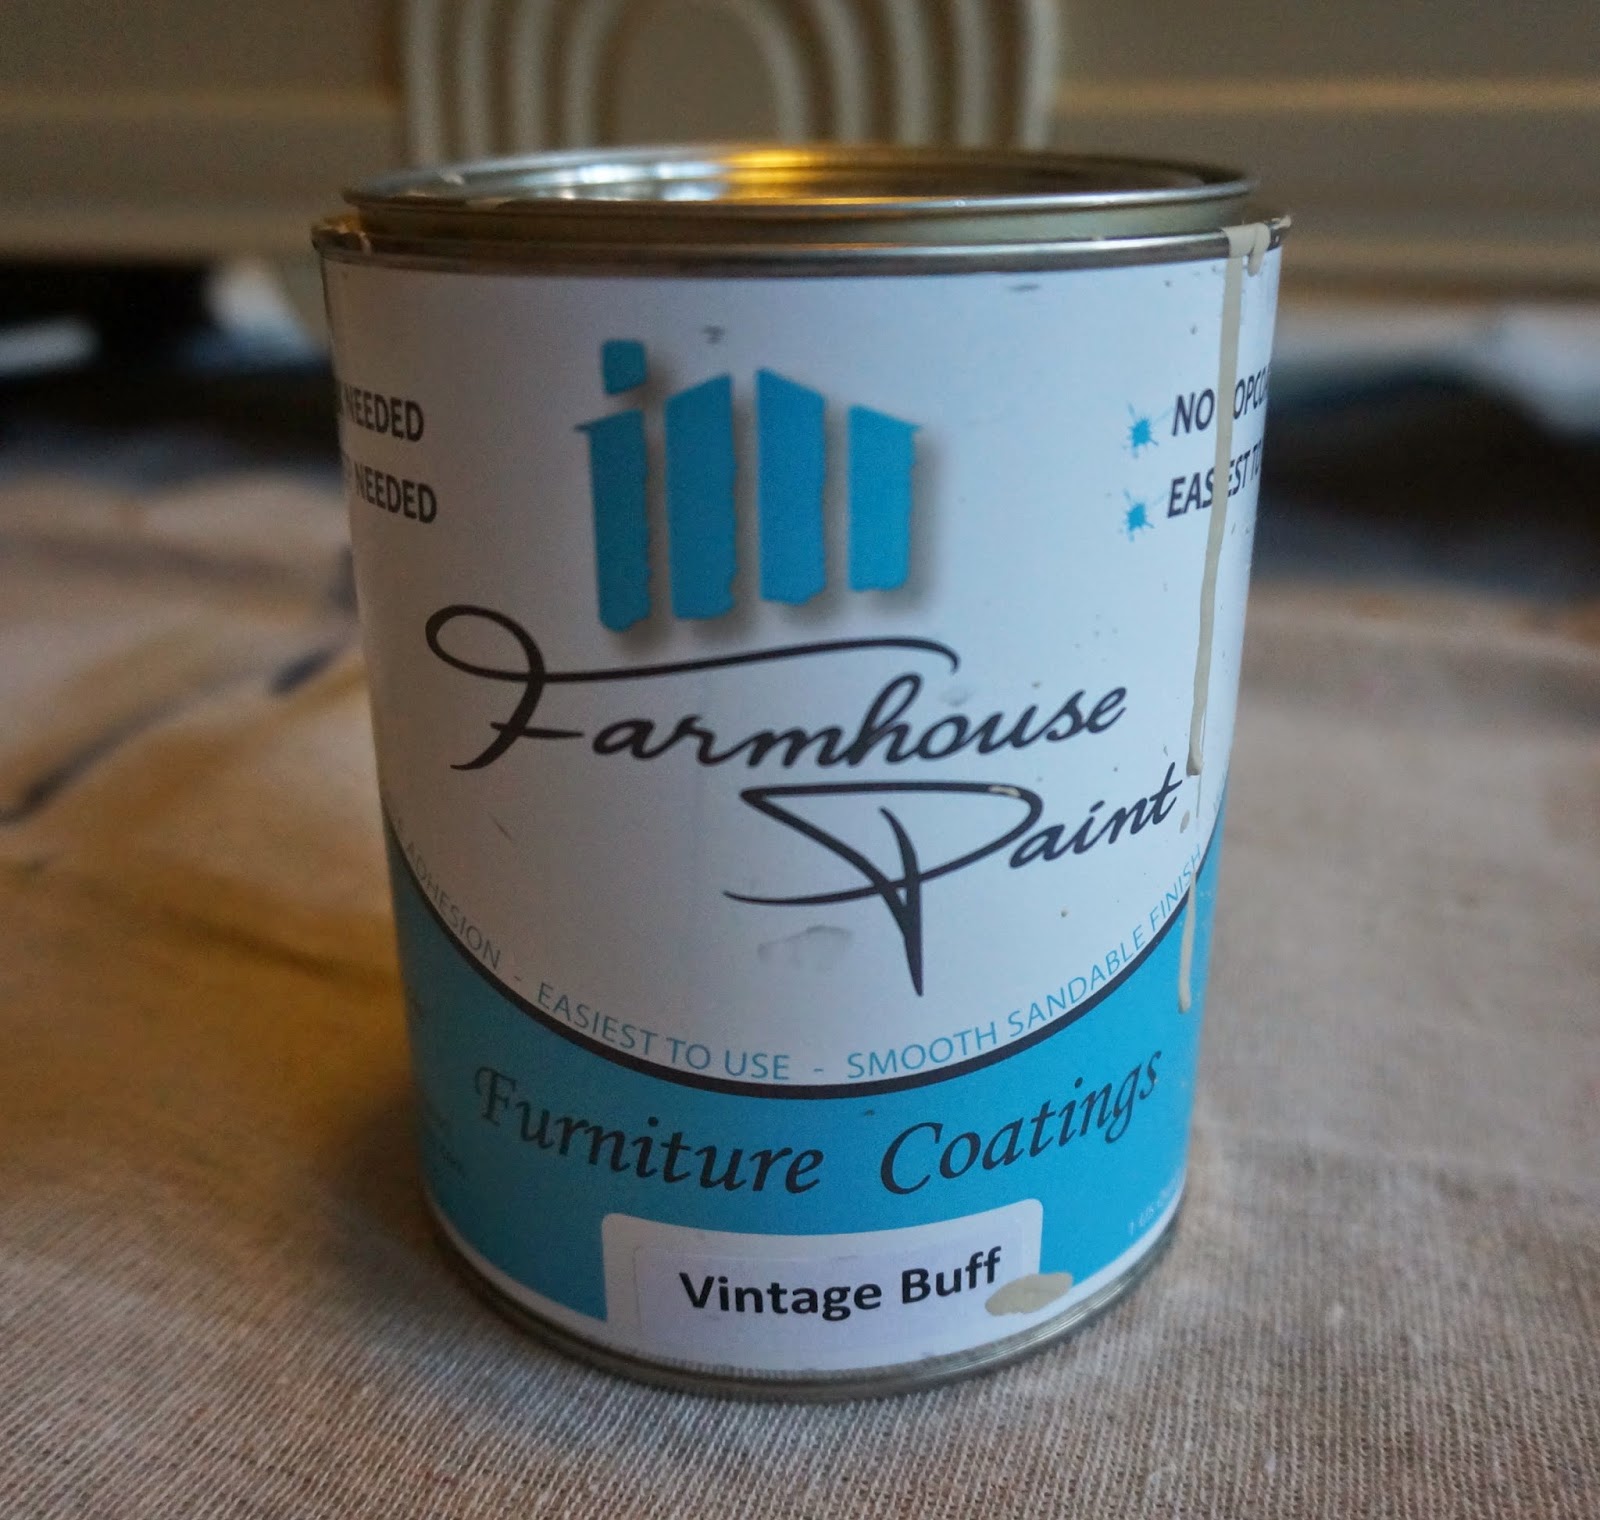
I've gotten hold of another piece of furniture, and I've been dying to to try this Farmhouse Paint

Farmhouse Paint is similar to Annie Sloan Chalk Paint; it sticks to just about anything, and you don't have to sand or prime the surface before applying it. The difference in the Farmhouse Paint is that you don't have to wax it after applying. I've never used chalk paint, but supposedly, the waxing is the hardest part. 

R.B.'s mom, Belle, gave me this old cedar chest that's been sitting in her garage for awhile. She thinks it was her grandmother's, so it's pretty old. 


It has this cool art deco look to it, but it was in need of some major love. 


First, I had to wipe down the whole thing to remove all the dust and spider webs (eek!). I used a wet towel first and then mixed some white vinegar with hot water and wiped it down again. That made a world of difference. 

I picked out the Vintage Buff color in the quart size ($32) from local shop, Quite the Pair. They gave me a tip sheet and sent me on my way. They do offer painting classes if you want to practice and get hands on experience, but I was ready to get right to it. 

The first coat of paint acts like a primer. At first, I thought I was doing something wrong because it seemed to dry super fast. But, after two more coats, things got easier and looked much better. 

This is after three coats. 
I think two coats would have sufficed, but I wanted to make sure. 


After letting it dry completely, I started sanding. I used a 220 grit sandpaper to sand the whole thing. This helps give the paint a smooth finish. I then used a more coarse sandpaper to give it a more distressed look. 


You can distress it as much or as little as you like.

I decided to add a little more dimension by applying a gold leaf rub to the decorative arches. 

Sorry for the blurriness. 
I got this Rub 'n Buff from Hobby Lobby. I used my finger to apply it and then sanded some of it off. A little goes a really long way. 


I plan on using this in the sunroom for storage. I'm not quite sure how I feel about the final product. I may go back and distress it a little more on the top and front. But, it works for now. 

Overall, I really liked the Farmhouse Paint. It's easy to use and offers really great coverage. It also comes in several different colors, and they have a metallic line coming out soon!

What do you think? Have you tried the Farmhouse or Chalk Paint? 

Wednesday, June 11, 2014

Currently Crushing: Grasscloth Wallpaper

Grasscloth wallpaper has been a thing for a little while.  We've come a long way since the basic, dark brown grasscloth of our 90s past.  It was actually Maeci that got me thinking about the subject of grasscloth last week, and how gorgeous it looks (she's thinking of putting it in the bedroom after the wedding - surprise RB!).  It comes in lots of colors and is classic and completely dynamic - looks great in a bedroom, bathroom, living room, a-n-y-w-h-e-r-e.

So, I pulled a few of my favorite grasscloth wallpaper images that I know y'all will love, too...


Aren't the mint and navy grasscloth uh-mazing?  Mmmm hmmm, thought so.  Have any of you used grasscloth wallpaper in your home?  Would you?

Friday, June 6, 2014

Get the Look

Happy Friday!  When I first saw this image a year or two ago, I fell. hard.  I have a major crush on this living room, and if I could marry it I would (but I'm already married, duh).  If we owned our own home and didn't rent at the current time, this is exactly what I would want my living room to look like.

found via pinterest, but if someone knows the original source, please let us know!

I figure I can't be the only one who likes this look - if I am, then I need to get out of the blog business.  So, I've put together a remake of this room from items found around the web.  Hope it helps anyone who, like me, wants this living room in place when I wake up tomorrow morning.  Get to work little magic elves.


***Don't forget that our Wicks & Willow giveaway ends TONIGHT!  So if you haven't entered yet, you better hop on it!  We'll be announcing the winner on Monday!***


Friday, May 30, 2014

MeetMontgomery: Wicks & Willow + Giveaway!

First, we want to say THANK YOU to everyone for spreading the word about Z+M and helping us reach 300+ Facebook likes!  We are simply blown away by the love and support! So, now that we've said thank you...we want to show you gratitude with a giveaway!

This is our first post in a new series we're calling MeetMontgomery where we'll be featuring local business owners right here in Montgomery.


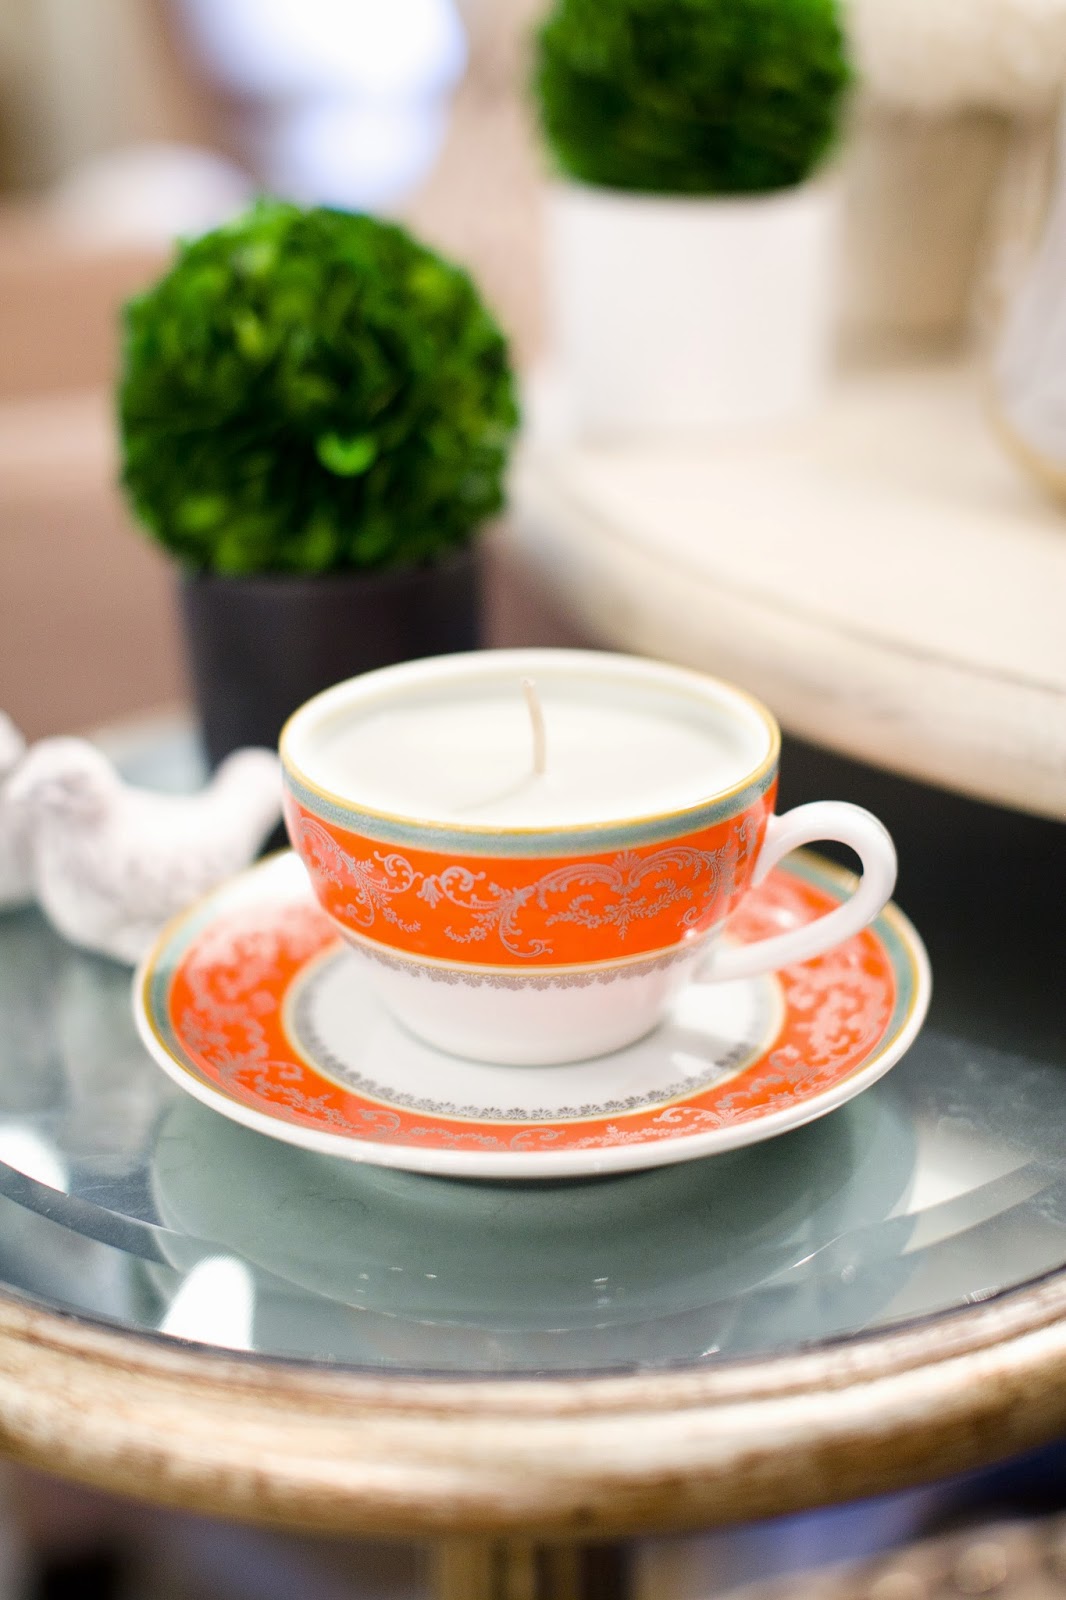
Our first MeetMontgomery interview is with Melissa Warnke who some of you locals may recognize as a reporter/morning anchor for WSFA 12 News, but she also owns and operates Wicks & Willow where she makes stunning candles set in vintage tea cups and mason jars.  Aren't they gorgeous?!


Melissa and her husband Adam both grew up in Cullman, Alabama (where they were high school sweethearts!), attended Auburn University and now live in Montgomery with their two adorable yellow lab/cocker spaniel mixes, Abbi and Cami (who are the sweetest pups).


Here are a few interview questions to help you get to know Melissa!

Z+M: Tell us a little about what Wicks & Willow is and what you offer?

Melissa: Wicks and Willow is a hand-poured soy candle collection I started in July 2012 specializing in tea cup candles and mason jar candles. I also offer a really unique refill program. Customers can bring their own cups, jars or containers to me and I can make it into a candle for them.  That has been one of my favorite things.  People have brought me pieces of their grandmother’s china or their wedding china to make into candles.  It’s a way for them to enjoy and display those pieces, rather than just having them stored away in a cabinet.  Because I use all natural soy wax, it doesn’t harm the container.  The refill program also applies to candles purchased from me in the past; I can refill that same container. 


Z+M: Where did the you get the idea to start Wicks & Willow

Melissa: That is a question I get asked all the time!  It actually was not planned at all. I never set out to make candles.  My husband Adam and I enjoy antique and flea market shopping.  From one of our shopping trips, we ended up with a box of vintage tea cups and saucers – I just couldn’t pass them up because they were so pretty!  They sat in that same box in our closet for several weeks.  One day, I came across a blog about making your own candles, and decided I’d finally put those cups to use!  It took me several tries to get it right.  Most of the first candles I made looked awful!! I couldn’t get them smooth on the top, or the right combination of wax to scent, or the wick to stay in the right place. After lots of trial and error, I was finally happy with the way they were looking.  I posted a picture of one on Facebook, and someone asked if it was for sale.  The rest is history!  About a month later, I created Wicks and Willow, got my business licenses and opened up an online shop. 


Z+M: What is your favorite part about owning/operating your own business? 

Melissa: There are two things I love.  One – I love knowing that something I made, in my kitchen, with my own hands…is something that people enjoy and use in their homes or to give as a special gift to a friend, bridesmaid, mother, aunt, etc.   I have taken a piece of beautiful piece of china that was discarded or not wanted anymore and given it new life as a candle.  It’s so neat that I have been able to sell candles to customers all over the country and other countries as well.  My first online sale went to a sweet lady in Australia!

The second part I love has been the people I’ve met through this process.   There are so many creative and inspiring people who are makers and creators and small business owners in Montgomery.  Many times, they also have full time jobs or they have started a small business that grew into a company that they now operate full time.  It’s been really cool is to have been a part of some cool collaboration projects with those folks.  There is a really supportive community of creators in Montgomery.  And, of course, my customers!  Many of my customers have become good friends of mine.  They have told their friends about Wicks and Willow and even alert me when they see a great set of china for sale somewhere, haha!


Z+M: Where do you get your inspiration? 

Melissa: I love DIY and home décor blogs.  It gets me into trouble sometimes, haha!  I am always wanting to work on new projects around our house.   But, it gives me ideas for styling my candles for photos and events.  I also discover new ways to incorporate them into different kind of home décor.  Wicks and Willow definitely has a certain aesthetic and look, but they appeal to a wide range of tastes.  China is one of those things that can be a part of a very cottage-type or eclectic style as well as a more refined style.  


Z+M: What advice would you give someone who wants to start his or her own business and/or new creative venture? 

Melissa: I would tell that person to go for it!  My advice is to remember that creating a brand is just as important as creating your actual product.  You can start a business with a relatively low start-up cost, but I wouldn’t skimp on your logo design or your photography. Those are things that make a huge impact and can really set you apart.  Also, go overboard with communication, especially if you’re selling a product.  Answer questions in a timely manner, fix something if they have a problem and always go out of your way to make things easier for them.  Word of mouth is so HUGE when you start a business.  If people feel good and excited about your business or product, they will basically sell it for you!


Z+M: What’s your favorite part about owning your own business?

Melissa: I like the flexibility of deciding my own schedule.  If I am busy and want to take a month off from candle-making, for example, I can do that!  And this may be kind of weird – but most of the time, it is relaxing to make candles.  My full time job is very go-go-go with the pressure of constant deadlines.  I do thrive on adrenaline and being around people, but it is nice to slow down for a little bit in the afternoons and focus on making something with my hands.  And I can do it all in my home! 


Z+M: What is your favorite thing about Montgomery? 

Melissa: My husband and I love Montgomery.   It’s such a unique combination of history, southern charm, and everything Alabama!  We have found such a wonderful community of friends here, so it really feels like home to us now.  We have always felt like this city is a place that offers young professionals opportunities to get involved and make a difference.  And, I think that with any city, your experience is what you make it.  We have enjoyed getting plugged in with some non-profits and organizations around the city.

And now it's giveaway time!


One lucky Z+M reader will win TWO candles from Wicks & Willow - one Blue Willow Tea Cup Candle and one Blue Mason Jar Candle (which burns for 120 hours!) in the scents of their choice. Scents offered include:

  • Eucalyptus and Spearmint
  • French Vanilla
  • Lavender-Vanilla
  • Red Currant
  • Gardenia
  • Cotton Blossom

To enter, you must use the Rafflecopter widget below.


If you're interested in purchasing candles from Wicks & Willow, you can visit Melissa's Etsy store, or if you're in the Montgomery area we suggest setting up an appointment to see all of Melissa's inventory - it's amazing! Just send her an e-mail at Melissa@wicksandwillow.com to set up a time! Her candles are also available at Hue Studio and the Gift Shop at Union Station.